Canva is an amazing tool. Using this tool, i am going to guide you today on creating amazing infographic step by step. Let’s get started.
How to Make an Infographic in Canva?
1. Choose an Infographic Template:
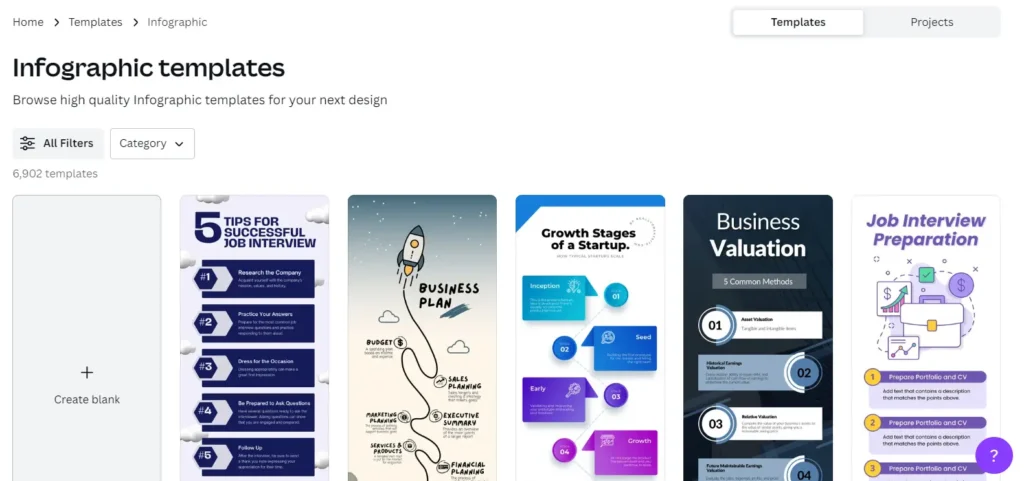
- Begin by logging into Canva’s editor.
- Once you’re in the editor, select the dimensions for your infographic. You can either choose a custom size or pick from pre-built templates.
- To find suitable infographic templates, go to the homepage and search for “Infographics.” The default size for an infographic is typically 800 x 2,000 pixels.
2. Select Your Design Style:
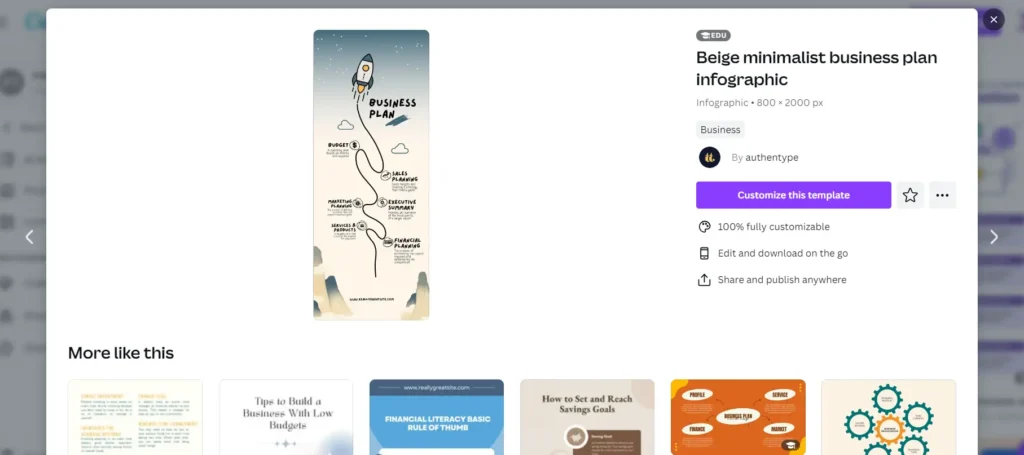
- After determining the canvas size, Canva provides a list of layout options that serve as the foundation of your infographic. There are numerous designs available, with the first 50 being the most customizable.
- Canva offers both free and premium templates, but most in this category are free. Each template has various options tailored to the type of data and niche.
3. Customize the Background and Fonts:
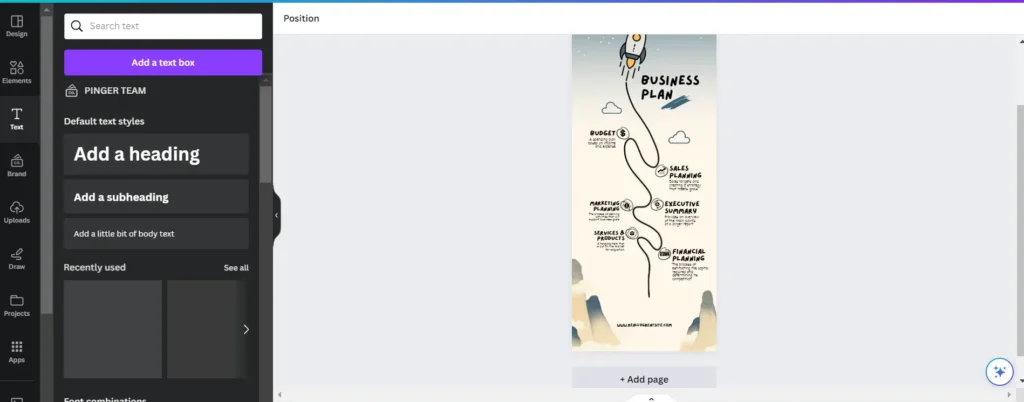
- With your chosen template, it’s time to select an eye-catching background. Canva offers a range of free infographic backgrounds, including different patterns, colors, and design elements.
- To change the background, click on the background icon in the left sidebar, and you’ll see options sorted by color and style.
- You can also change the color palettes of your infographic and apply filters to images. Ensure that your design aligns with your brand.
- Typography is crucial; you can add or change fonts by selecting the text icon on the left and customizing the text to suit your brand and content.
4. Add Graphical Elements:
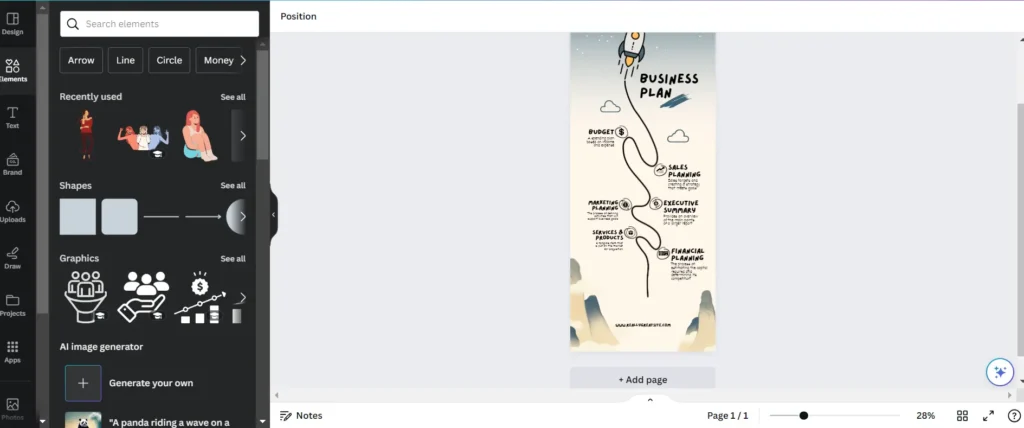
- Infographics are effective due to their use of visual elements to convey data. In Canva, you can add graphical elements easily.
- Canva’s graphical elements are categorized into images, grids, charts, frames, shapes, illustrations, and icons. Use these elements to represent your information visually.
- To select an element, simply double-click on the one you want and adjust its styling as needed. Drag and drop elements onto your canvas and resize them by dragging the corners.
5. Download Your File:
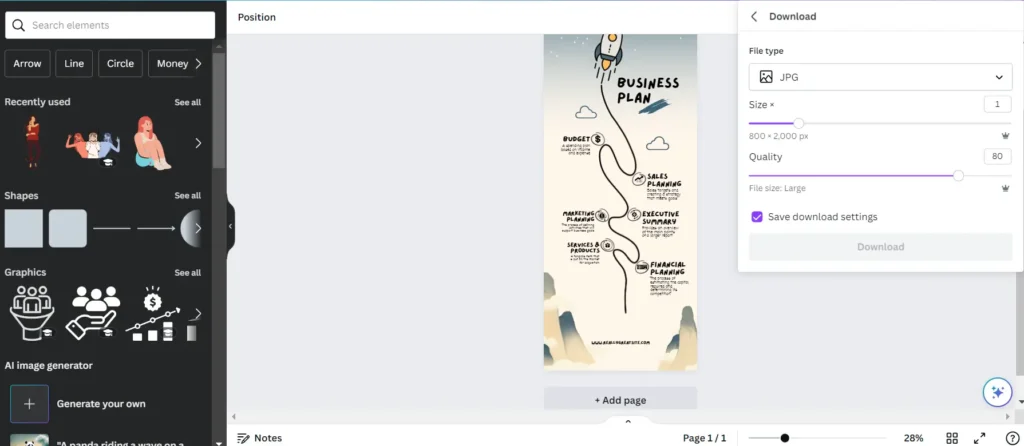
- Once you’re satisfied with your infographic design, click the download button. This will display a list of available file types.
- Canva also provides sharing options. You can share your infographic directly on social media platforms like Facebook and Twitter or use the embed tool to add it to a guest post and increase user engagement. Sharing your content is essential for building brand awareness.
Conclusion:
I hope you loved my guide on how to make an infographic in Canva in few minutes.
Let me know your feedback on this article in the comments, if you have any.