Unlock the power of customization in your email marketing with our comprehensive step-by-step guide on how to upload custom fonts to Mailchimp. Let’s Dive In.
How to Upload Custom Fonts to Mailchimp?
Step 1: Create a New Template
Log in to your MailChimp account.
Click on the “Templates” tab.
Select “Create Template.”
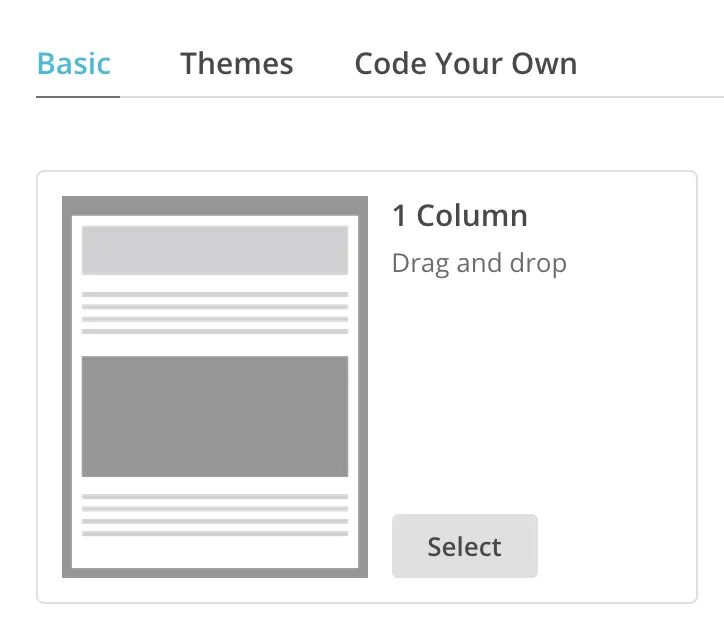
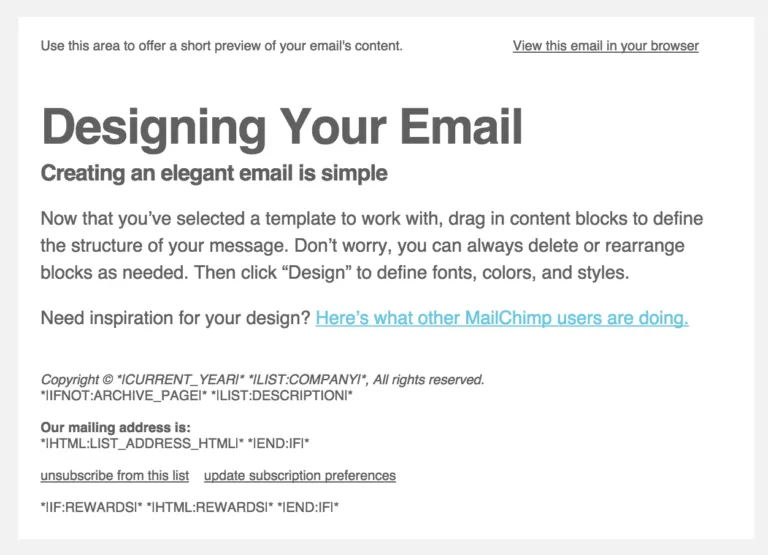
Choose a basic starter template for your design.
Step 2: Select a Font
- Mailchimp has limited support for custom fonts, so it’s best to use web-safe fonts or Google Fonts.
- For this example, let’s use “Open Sans” for the body text and “Playfair Display” for headings. You can find font pairings online.
- Add both fonts to a Google Fonts collection and click the “use” button.
- You’ll see a stylesheet link, which you’ll need to copy and paste into your template.
<link href="https://fonts.googleapis.com/css?family=Playfair+Display|Open+Sans:400,300,700" rel="stylesheet" type="text/css" />
To turn on CSS inliner, follow these steps,
Step 1: Click on “Design Email” in the campaign builder’s Content section.
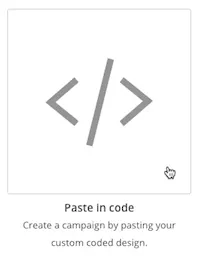
Step 2: Choose “Paste in Code” under the “Code Your Own” option on the template step.
Step 3: Paste your HTML code, including your email template with desired styles.
Step 4: Go to the “Settings” tab.
Step 5: Enable the “Automatic CSS Inliner” checkbox.

Step 3: Insert the Font into the Template
Since you can’t directly edit HTML in MailChimp, you’ll create a pseudo-HTML version.
Click on the text element in the top left corner of your template.
From the text editor, select the code button.
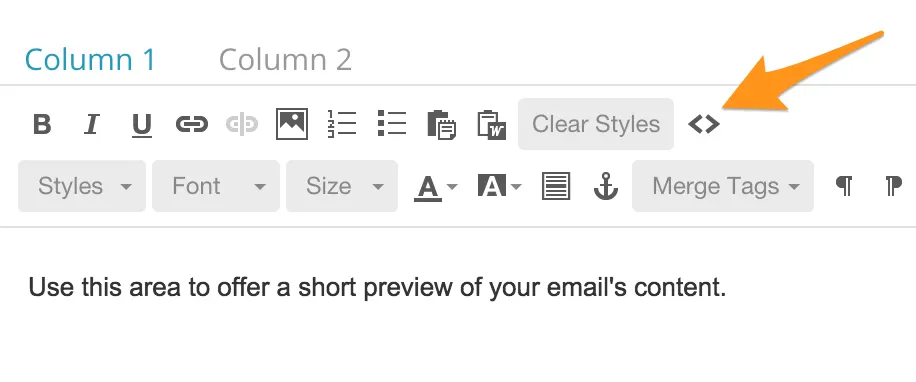
Copy and paste the following code:
<link href=”https://fonts.googleapis.com/css?family=Playfair+Display|Open+Sans:400,300,700″ rel=”stylesheet” type=”text/css” />
<style type=”text/css”>h1,h2,h3,h4,h5 {
font-family: ‘Playfair Display’, serif !important; font-weight: 300 !important;
}
h1 {
line-height:44px !important; color: #111 !important;
}
p, .footerContainer {
font-family: ‘Open Sans’, sans-serif !important; font-weight: 300 !important; color: #111 !important;
}
</style>
This code sets the fonts for different elements in your template and ensures they override Mailchimp’s default styling.
Conclusion
I Hope you love this guide on how to upload custom fonts to mailchimp in easy steps.
Let me know your thoughts in the comments.